Build & Run
Build and run your iOS app on a simulator or device directly from the VSCode sidebar. SweetPad drives xcodebuild
under the hood — the same tool Xcode uses.
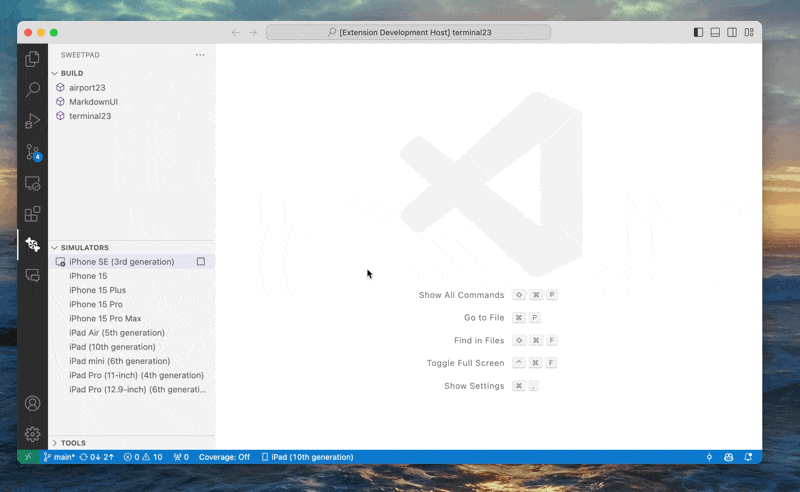
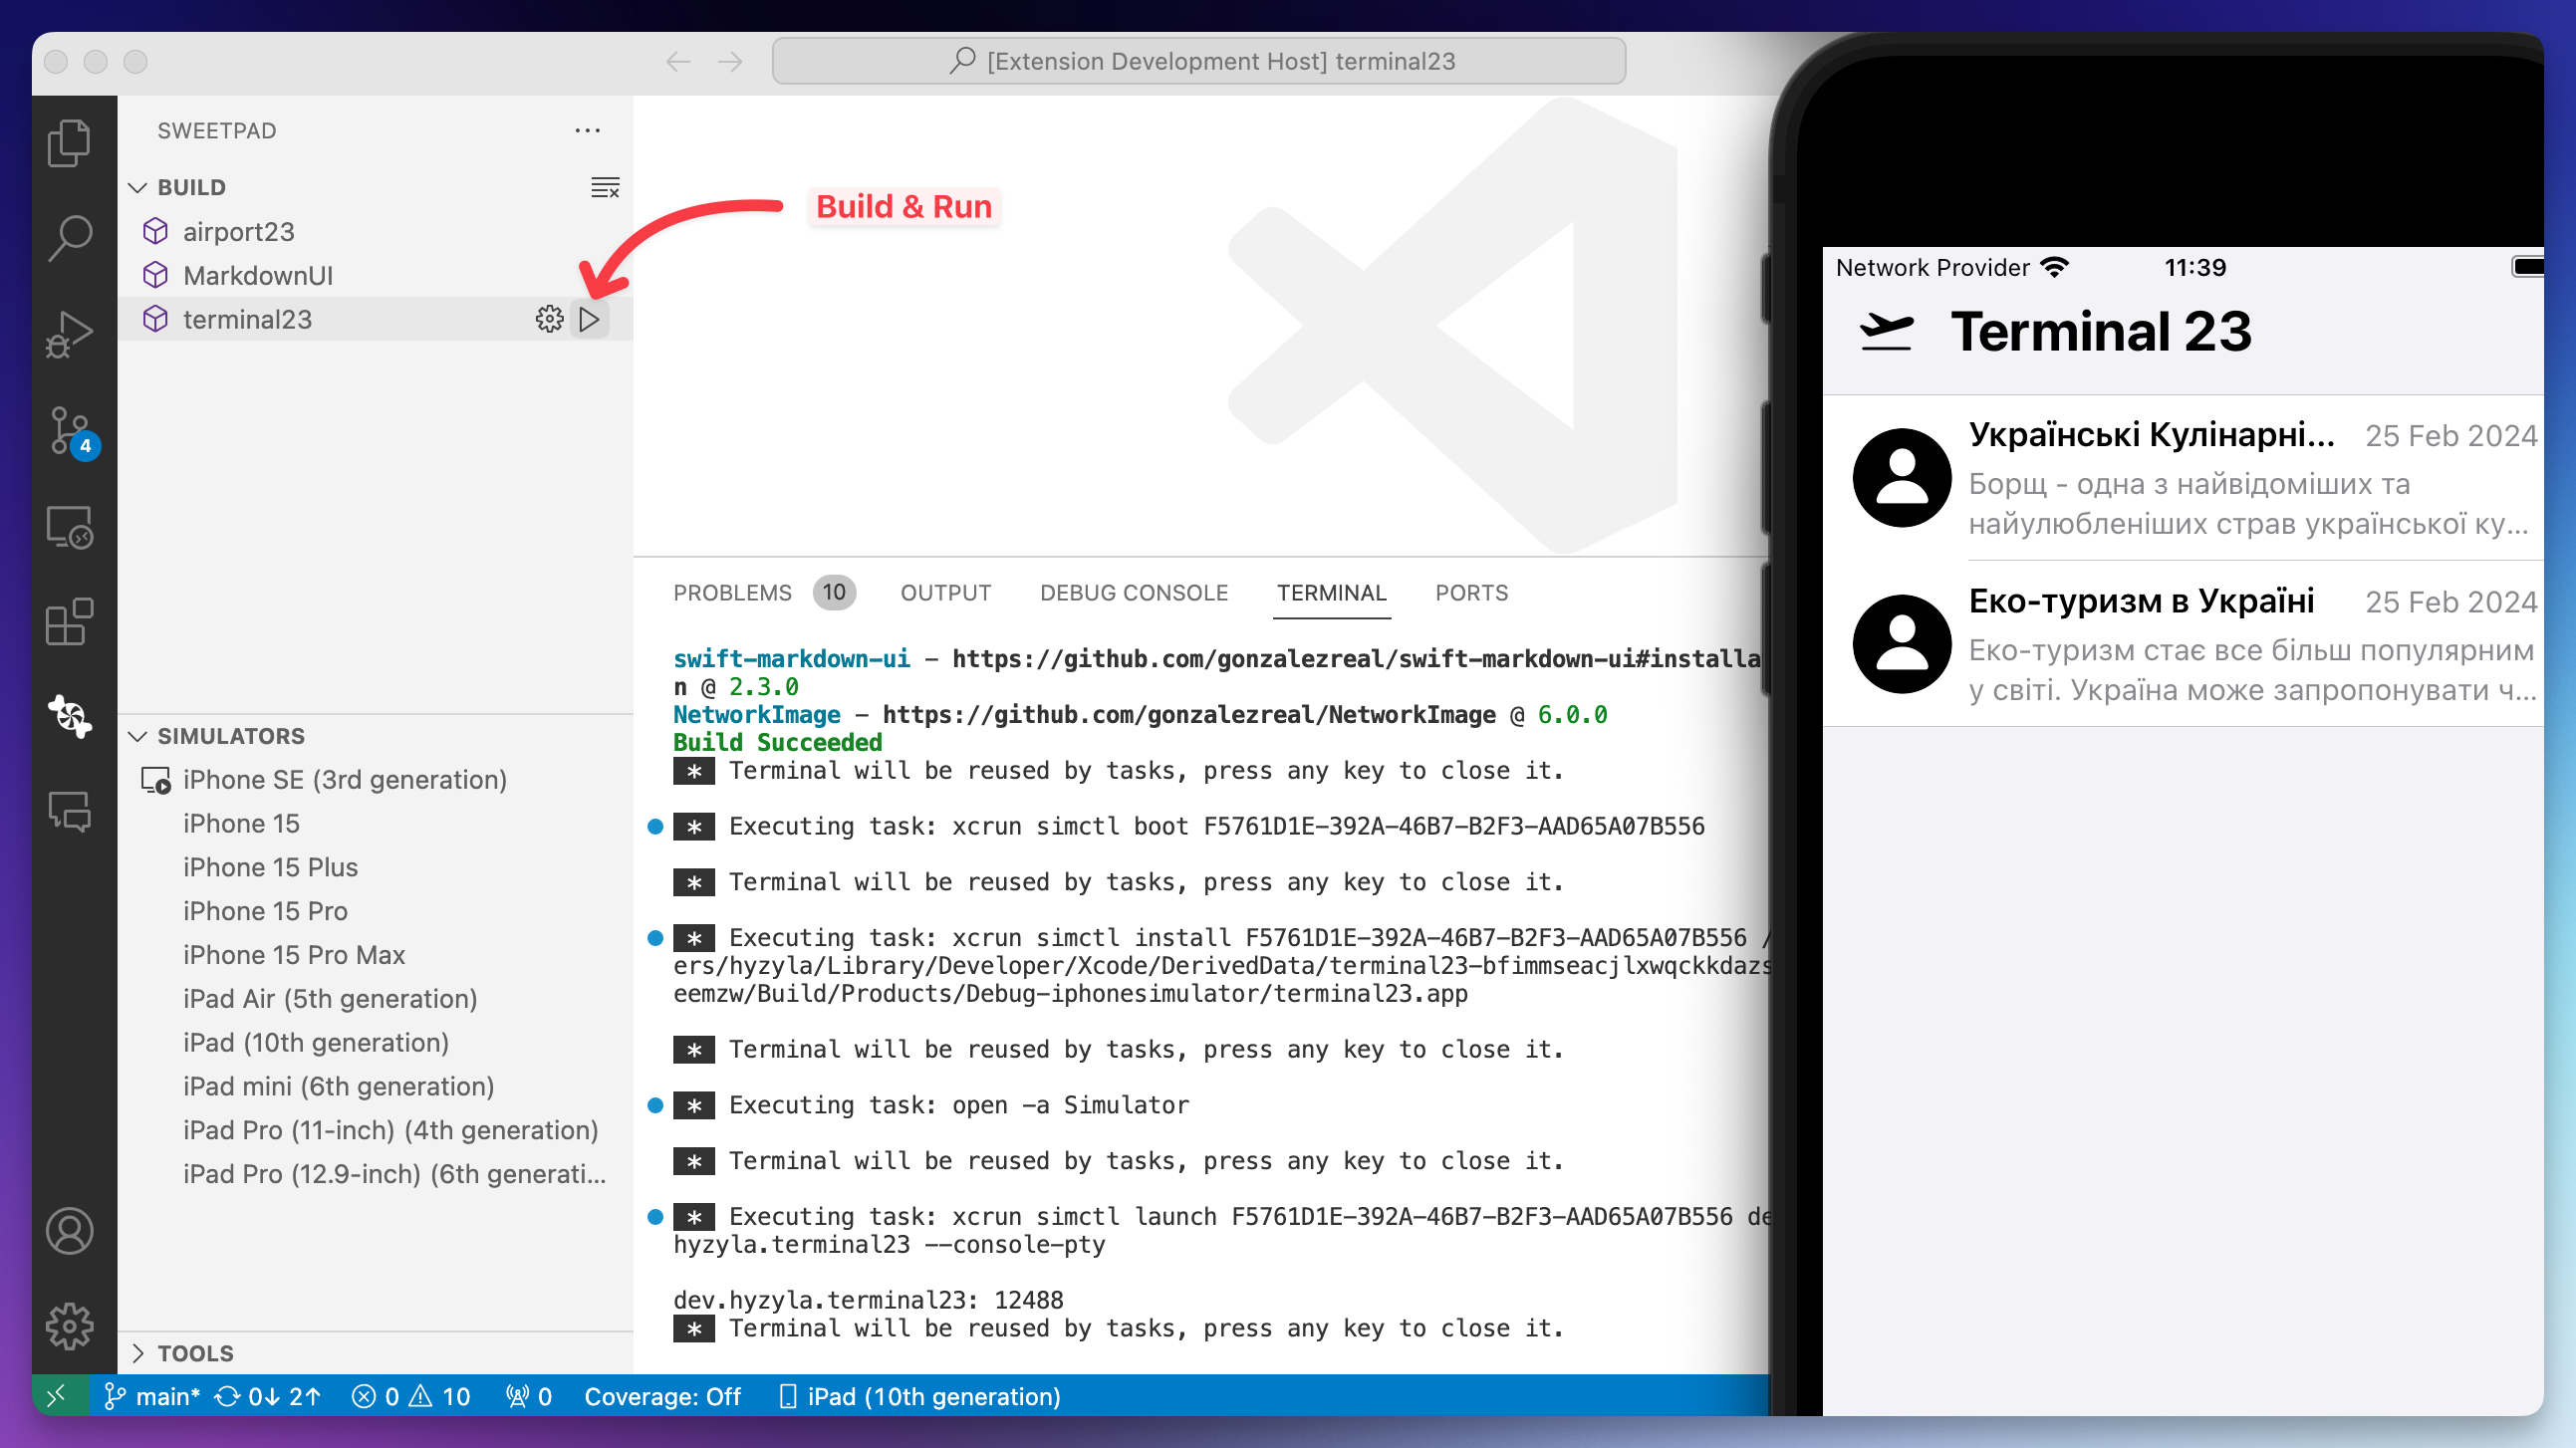
Open the folder containing your Xcode project, then open the SweetPad sidebar on the left side of VSCode, go to the Build section, and click ▶️ next to the scheme name. SweetPad asks you to pick a simulator or device, then builds and launches the app on it.
For prettier build output, install xcbeautify:
brew install xcbeautify
Or use the Tools panel in the SweetPad sidebar to install xcbeautify and the other tools SweetPad
integrates with.
Build view at a glance
-
▶️ Build & Run — click the play button next to the scheme name to build and run the app on the active destination.
-
⚙️ Build — click the gear button next to the scheme name to build without running.
-
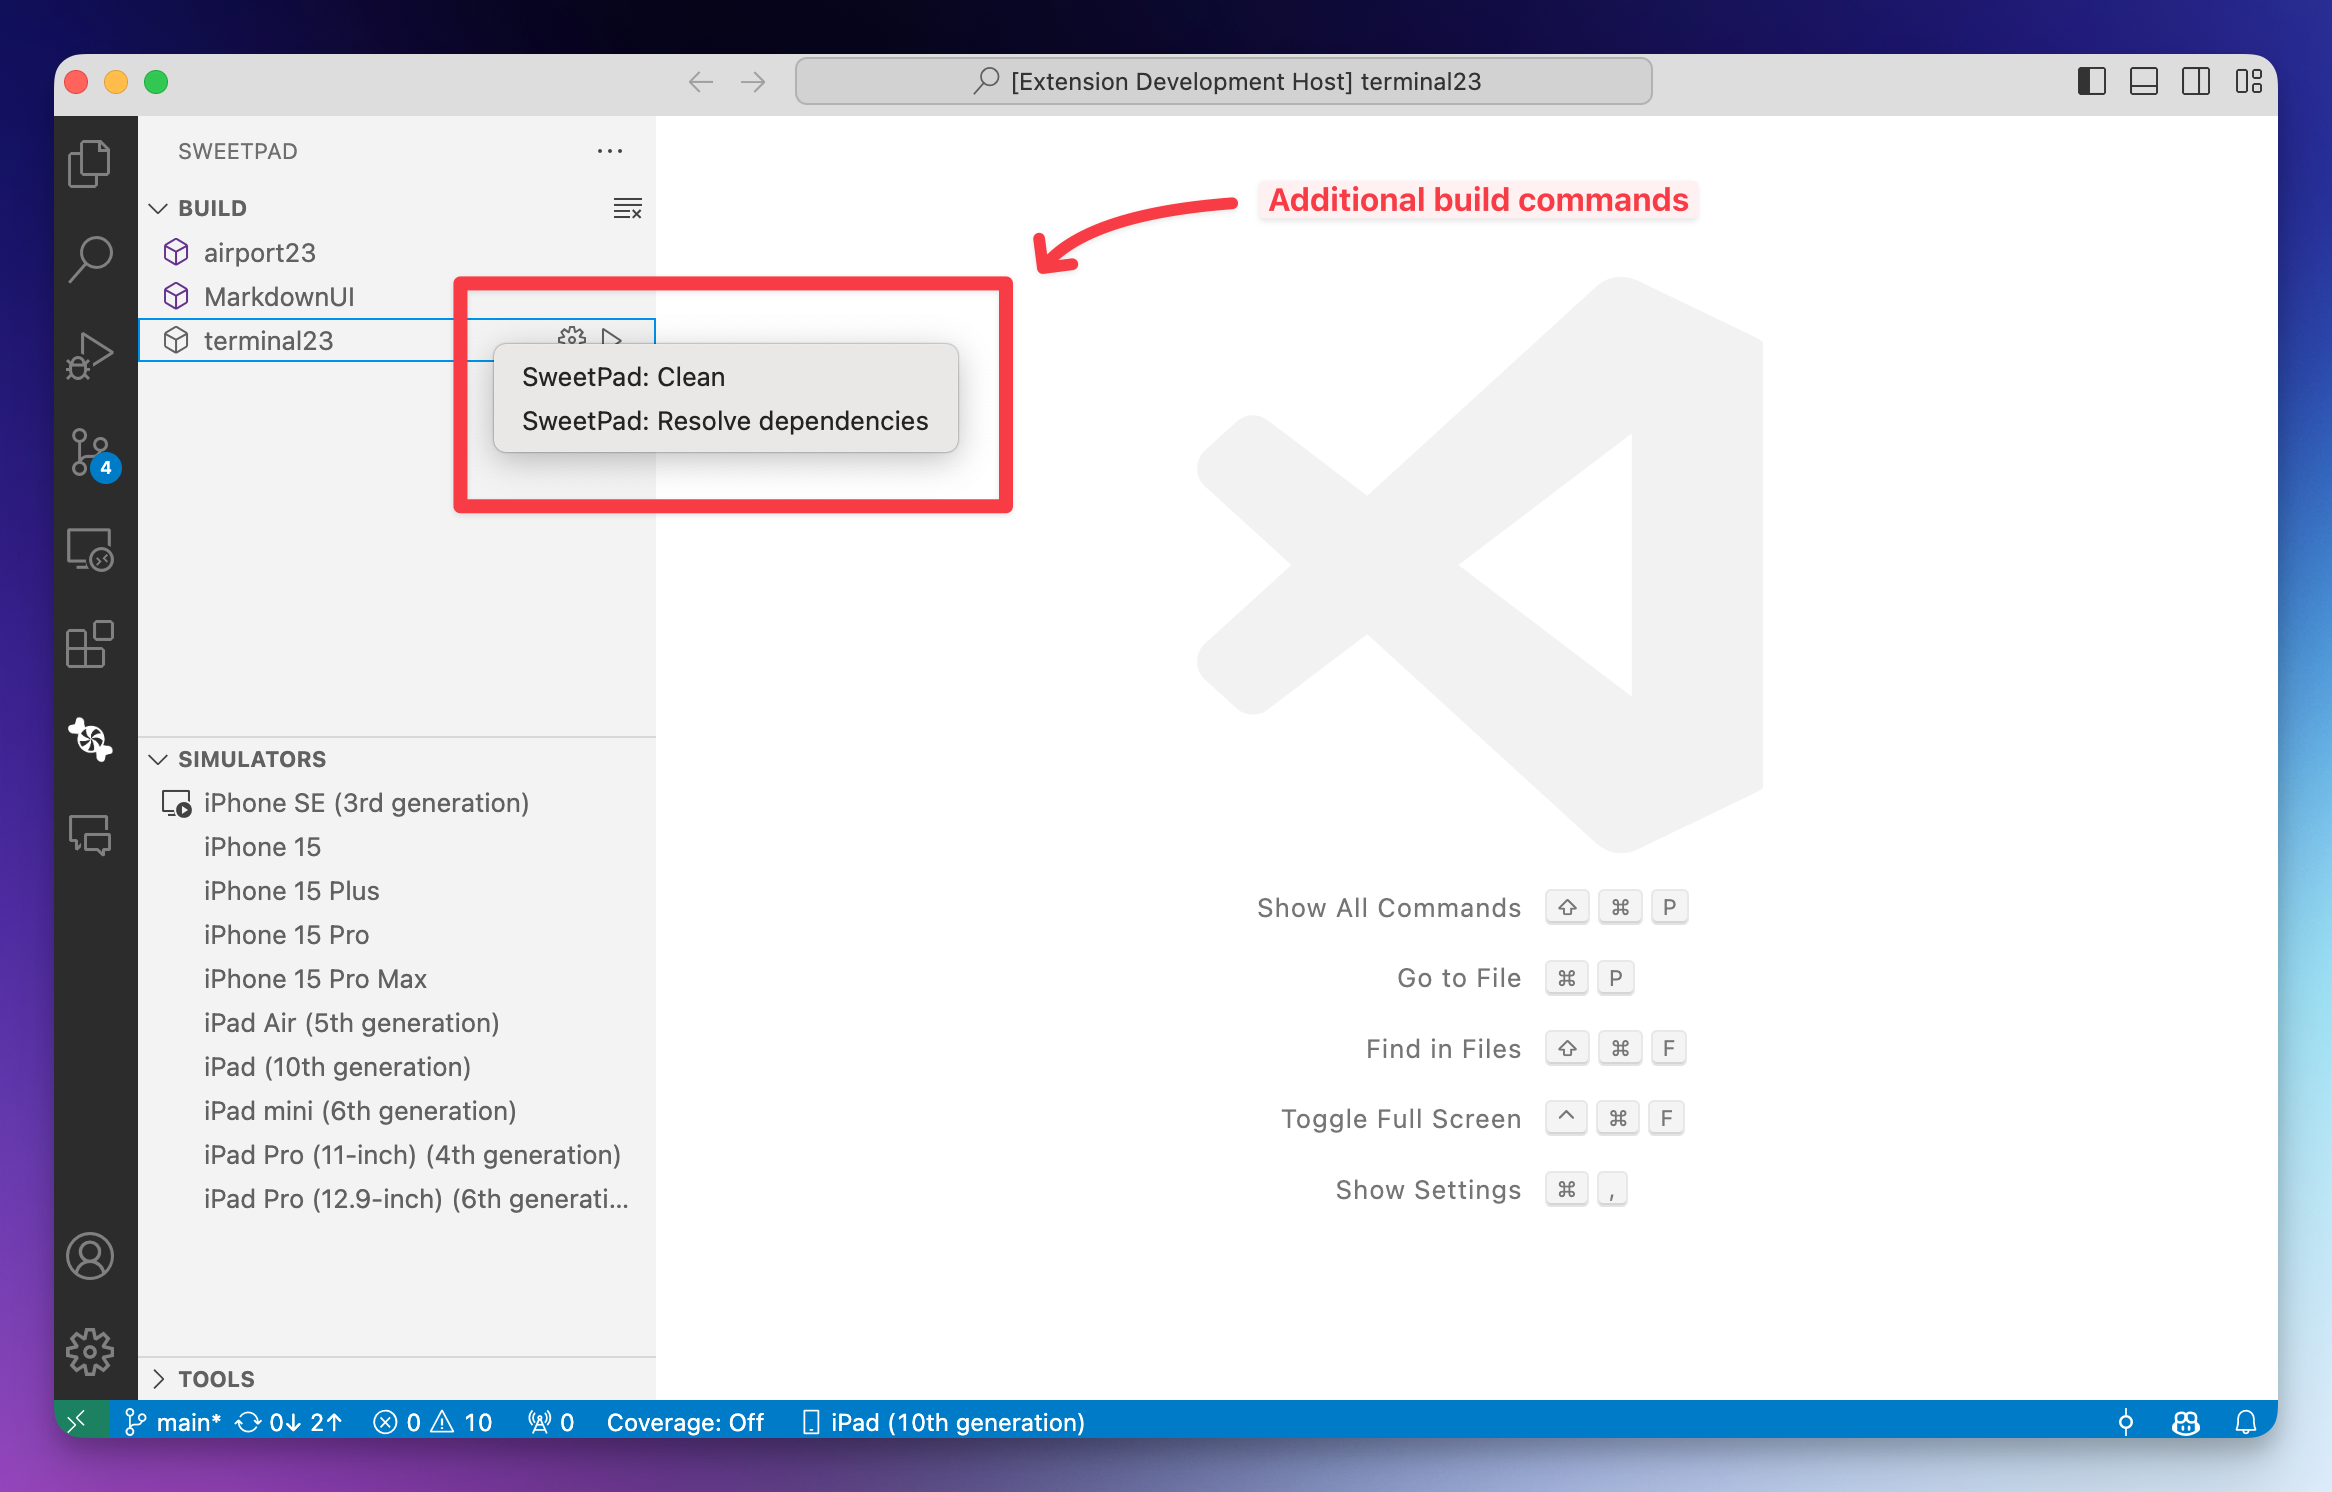
SweetPad: Clean — right-click the scheme name to find this option. Cleans the build folder and derived data.
-
SweetPad: Resolve Dependencies — right-click the scheme name and pick this to resolve Swift Package Manager dependencies.
Stop a running build or app
Long builds, runaway test runs, or apps that won't terminate on their own can all be cancelled in one click. While
a scheme is running, a ⏹ stop icon appears inline next to it in the Build view — click it, or run
SweetPad: Stop build / running app from the command palette. SweetPad kills the underlying xcodebuild or app
process and frees up the terminal.
If you closed the terminal panel and the play button still shows a spinner, the process is probably still alive — use Stop build / running app to clean it up.
Filter which schemes appear in the Build view
Large Xcode workspaces often expose dozens of schemes — feature modules, test bundles, dynamic libraries, host apps — most of which you never build by hand. You can hide the noise without touching the project file:
{
  "sweetpad.build.schemes.include": ["MyApp", "Feature*"],
  "sweetpad.build.schemes.exclude": ["*Tests", "*UITests"]
}
include— only schemes matching at least one pattern are shown. Empty means "show everything".exclude— applied on top ofinclude; matching schemes are hidden.- Patterns support
*as a wildcard.
When a filter is active, a pause/apply toggle appears in the Build view title bar so you can temporarily peek at every scheme without editing the settings — click it once to pause the filter (SweetPad: Pause scheme filter), click again to re-apply it (Apply scheme filter). The magnifier 🔎 button next to it searches the visible schemes.
Swift Package Manager (SPM) support
SweetPad detects Package.swift at the workspace root and exposes the package's products as schemes — the same Build &
Run / Build / Test flow works without an Xcode project. Configurations default to Debug and Release. Tests
declared with XCTest or Swift Testing show up in the Testing panel as usual.
You can mix and match: if a folder contains more than one of Package.swift, .xcworkspace, or .xcodeproj,
SweetPad asks which one to use the first time you build and remembers your choice. Switch later with
> SweetPad: Select Xcode workspace or by editing sweetpad.build.xcodeWorkspacePath directly.
Tasks
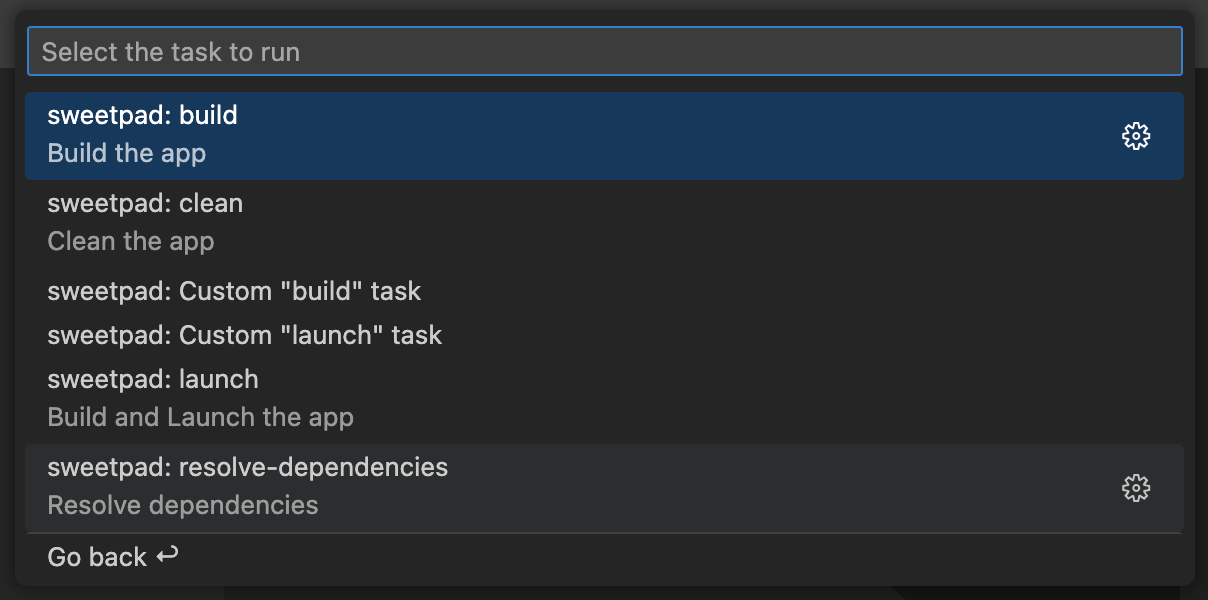
SweetPad registers a VSCode task provider, so the build/run actions show up under Tasks: Run Task in the command
palette without any setup.
You can also wire them into .vscode/tasks.json to compose them with other tasks or bind them to keyboard shortcuts:
{
  "version": "2.0.0",
  "tasks": [
    {
      "label": "SweetPad: Build",
      "type": "sweetpad",
      "action": "launch",
      "problemMatcher": ["$sweetpad-watch"],
      "scheme": "terminal23",
      "configuration": "Debug"
    }
  ]
}
For tasks used as a debugger pre-launch step, isBackground: true and the $sweetpad-watch problem matcher are both
required so VSCode knows when the build is ready and the app is launching:
{
  "version": "2.0.0",
  "tasks": [
    {
      "type": "sweetpad",
      "action": "launch",
      "problemMatcher": ["$sweetpad-watch"], // ! Required for debugging
      "label": "sweetpad: launch",
      "detail": "Build and launch the app",
      "isBackground": true // ! Required for debugging
    }
  ]
}
Set the Xcode workspace path
If your repo contains multiple .xcworkspace / .xcodeproj files, pin the one SweetPad should use:
{
  // Path to your Xcode workspace (.xcworkspace file)
  // The path can be absolute or relative to the folder in which VSCode is opened.
  "sweetpad.build.xcodeWorkspacePath": "/path/to/your/workspace"
  // Examples:
  // "sweetpad.build.xcodeWorkspacePath": "terminal23.xcodeproj/project.xcworkspace"
  // "sweetpad.build.xcodeWorkspacePath": "terminal23.xcworkspace"
  // "sweetpad.build.xcodeWorkspacePath": "/Users/username/Projects/terminal23.xcworkspace"
}
For an interactive shortcut, run > SweetPad: Select Xcode workspace from the command palette — it picks the
workspace and writes it to your settings.
If you don't configure a path, SweetPad asks the first time you build and remembers the choice in its cache. Clear
that cache with > SweetPad: Reset Extension Cache if you need to pick again.
If your project contains only one workspace, SweetPad finds it automatically — no configuration needed.
Set DerivedData path
xcodebuild writes its intermediate files into ~/Library/Developer/Xcode/DerivedData/ by default. If you'd rather
keep them inside the project (so each repo has its own derived data, or so a CI cache survives xcodebuild clean),
override the path:
{
  "sweetpad.build.derivedDataPath": "/path/to/your/derivedData"
  // Examples:
  //
  // 1. Relative path to the folder in which VSCode is opened:
  // "sweetpad.build.derivedDataPath": ".build/derivedData"
  //
  // 2. Absolute path:
  // "sweetpad.build.derivedDataPath": "/Users/hyzyla/Projects/sweetpad/derivedData"
}
Pass extra arguments to xcodebuild
Pass any extra xcodebuild flags through sweetpad.build.args. For example, to skip Swift macro validation:
{
  "sweetpad.build.args": ["-skipMacroValidation"]
}
You can also pass environment variables to xcodebuild itself (not to the launched app) with sweetpad.build.env.
This is useful for forwarding tokens or paths that your project's build scripts read from the environment:
{
  "sweetpad.build.env": {
    "MY_BUILD_TOKEN": "secret",
    "DERIVED_DATA": "${env:DERIVED_DATA}"
  }
}
Set a value to null to explicitly unset an inherited variable.
Use a different xcodebuild (e.g. Xcode-beta)
If you need a non-default xcodebuild — to build against Xcode-beta, to pin a specific toolchain, or to wrap
xcodebuild with a logger — point SweetPad at the binary you want:
{
  "sweetpad.build.xcodebuildCommand": "/Applications/Xcode-beta.app/Contents/Developer/usr/bin/xcodebuild",
  "sweetpad.build.swiftCommand": "/Applications/Xcode-beta.app/Contents/Developer/Toolchains/XcodeDefault.xctoolchain/usr/bin/swift"
}
Both settings expand ${env:VAR_NAME} placeholders, so you can drive the path from your environment:
{
  "sweetpad.build.xcodebuildCommand": "${env:XCODEBUILD_PATH}"
}
Pass launch arguments and environment variables to the app
sweetpad.build.launchArgs and sweetpad.build.launchEnv are forwarded to the app when it starts on a simulator or
device. For example:
{
  "sweetpad.build.launchArgs": ["--my-arg"],
  "sweetpad.build.launchEnv": {
    "MY_ENV_VAR": "my-value"
  }
}
You can also set them per-task in .vscode/tasks.json:
{
  "version": "2.0.0",
  "tasks": [
    {
      "type": "sweetpad",
      "action": "launch",
      "problemMatcher": ["$sweetpad-watch"],
      "label": "sweetpad: launch",
      "detail": "Build and launch the app",
      "isBackground": true,
      "launchArgs": ["--my-arg", "value"],
      "launchEnv": {
        "MY_ENV_VAR": "value"
      }
    }
  ]
}
Inherit args / env / language from the scheme's Launch Action
If your scheme's Run action in Xcode already defines launch arguments, environment variables, an App Language,
or an App Region, SweetPad applies them automatically when running the app. This means the same scheme behaves
the same way whether it's launched from Xcode or from VSCode — no need to copy values into settings.json.
The mapping:
- Enabled
<CommandLineArgument>entries →launchArgs. - Enabled
<EnvironmentVariable>entries →launchEnv. language="fr"→ adds-AppleLanguages (fr).language="fr"+region="FR"→ also adds-AppleLocale fr_FR.regionon its own is ignored (Xcode pairs it with the device's system language at runtime, which the CLI can't observe; add an explicit-AppleLocaleflag inlaunchArgsif you need it).
Anything you put in sweetpad.build.launchArgs / sweetpad.build.launchEnv is appended to the values from the
scheme, so workspace overrides always win over scheme defaults.
Keep the Simulator in the background on launch
By default SweetPad brings the Simulator app to the foreground every time it launches your app. If you'd rather stay in VSCode — typical when you're driving the Simulator through a keyboard automation tool or running headless during hot-reload iterations — turn that off:
{
  "sweetpad.build.bringSimulatorToForeground": false
}
Build for x86_64 on Apple Silicon (Rosetta)
On M-series Macs, you may occasionally need to build for x86_64 — for example to reproduce a CI environment, debug an Intel-only crash, or work with a framework that doesn't yet ship arm64 slices. Two settings cover this:
{
  "sweetpad.build.arch": "x86_64",
  "sweetpad.build.rosettaDestination": true
}
arch controls how the app is compiled; rosettaDestination tells SweetPad to prefer the Rosetta variant of the
target simulator. Leave both at their defaults for normal arm64 development.
Auto-refresh schemes when project files change
SweetPad watches Package.swift, .xcodeproj, and .xcworkspace files in the background and refreshes the scheme
list whenever they change — useful right after a tuist generate, xcodegen, or a freshly-added SPM target. If the
refresh is noisy (very large repos, dozens of frequent writes), tune it:
{
  "sweetpad.build.autoRefreshSchemes": true,
  "sweetpad.build.autoRefreshSchemesDelay": 1500
}
Set autoRefreshSchemes to false to opt out entirely; refresh manually with the ↻ button in the Build view or
> SweetPad: Refresh schemes.