Get started with the extension
This is a five-minute walkthrough: install the extension, open an Xcode project, and run your app on a simulator — all inside VSCode. You need a Mac with Xcode installed.
Everything here works in Cursor too — it's a fork of VSCode, so the extension installs and behaves the same way.
1. Install the extension
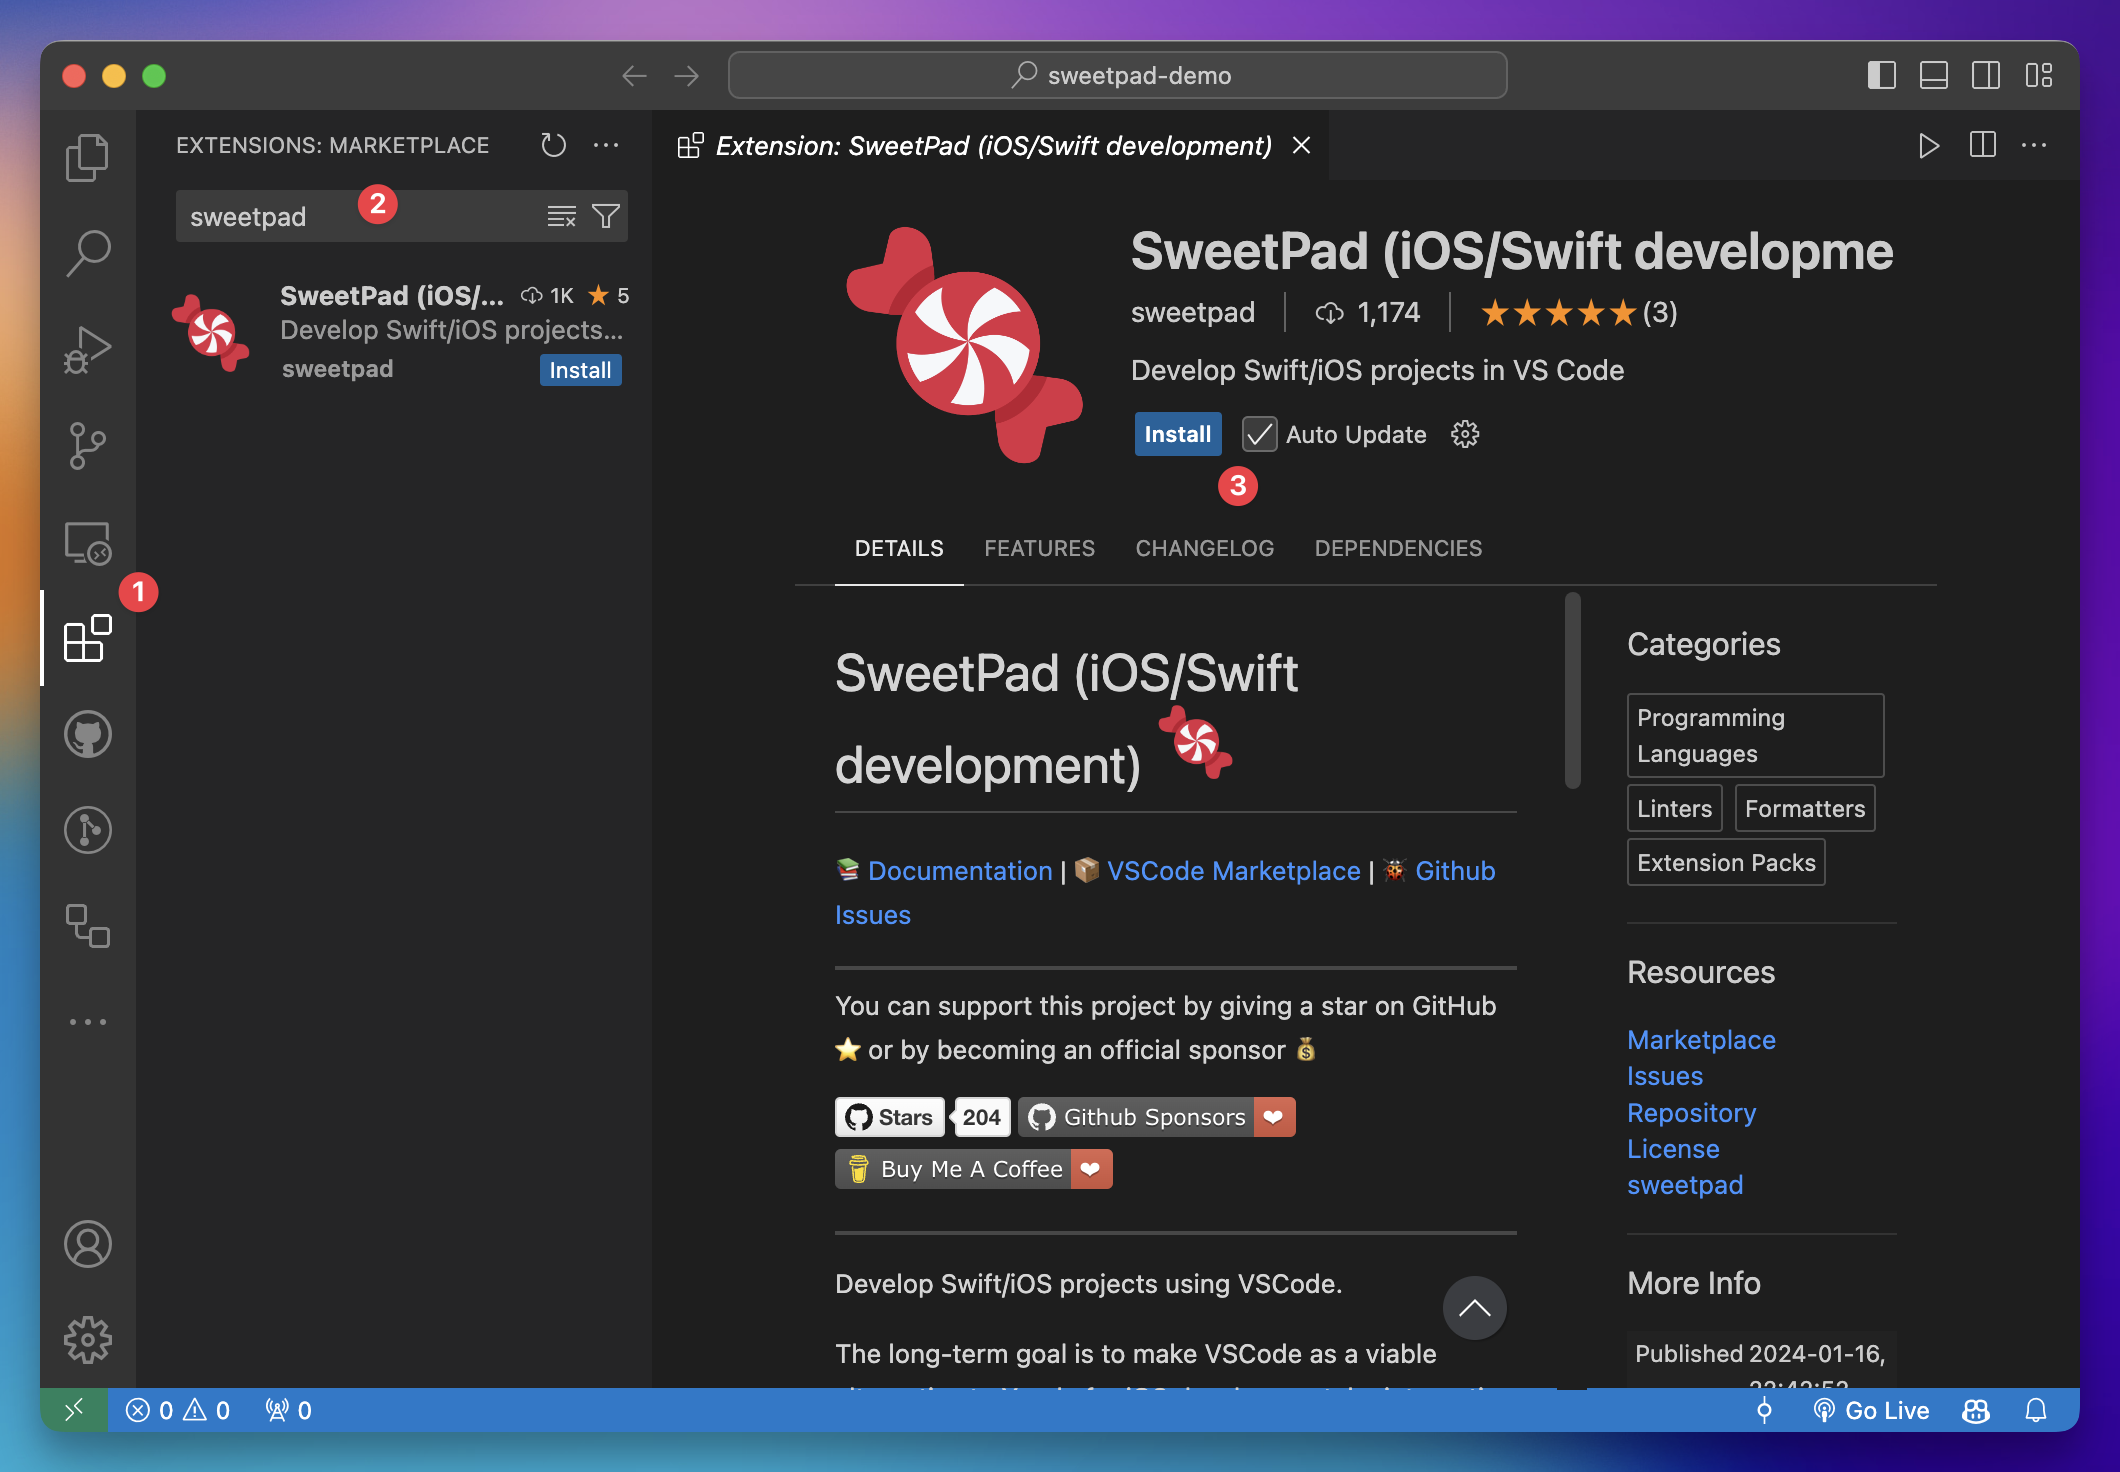
Install VSCode if you don't have it, then install SweetPad from the VSCode Marketplace.
2. Get an Xcode project
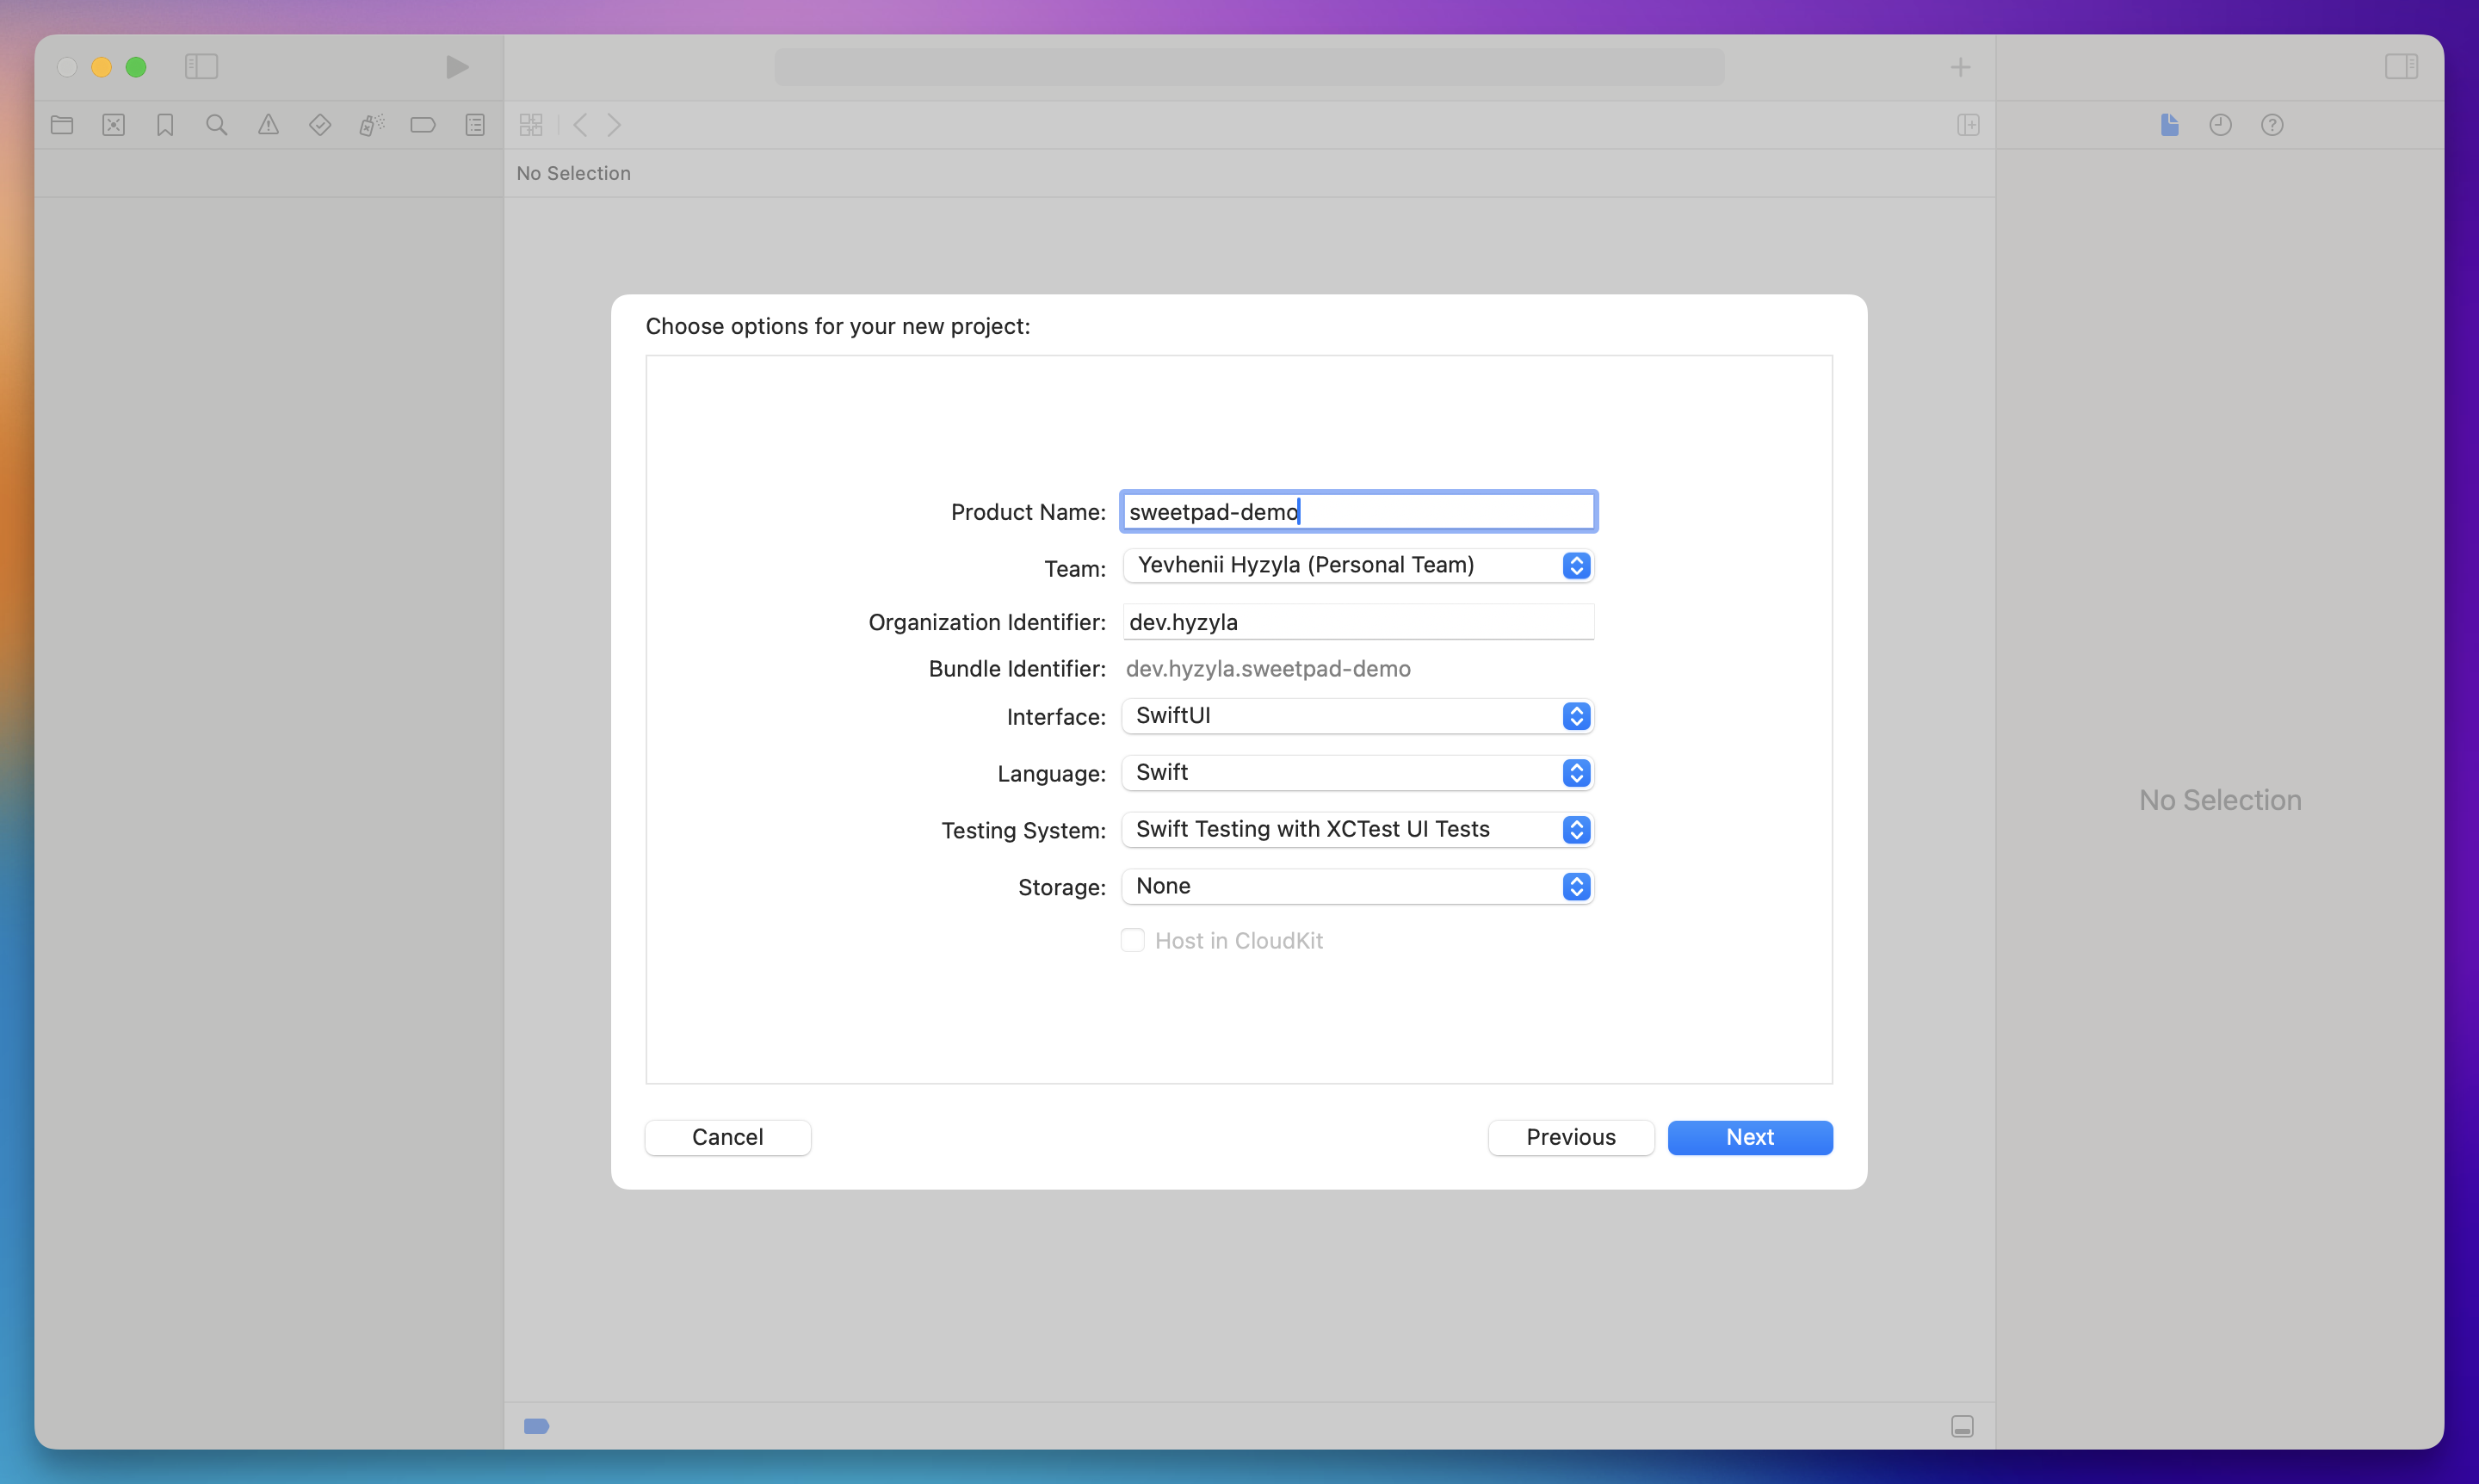
Any Swift app project works. If you're starting fresh, you can create one in Xcode, or use a project
generator like XcodeGen or Tuist that
keeps your project structure in a config file. A plain Swift Package works too — just a folder with a
Package.swift in it.
3. Open the project folder
Open the project's root folder in VSCode — the folder that contains your .xcodeproj or
.xcworkspace, not the .xcodeproj/.xcworkspace itself.
Once it opens, look for the SweetPad lollipop icon 🍭 in the left sidebar. That's your home base.
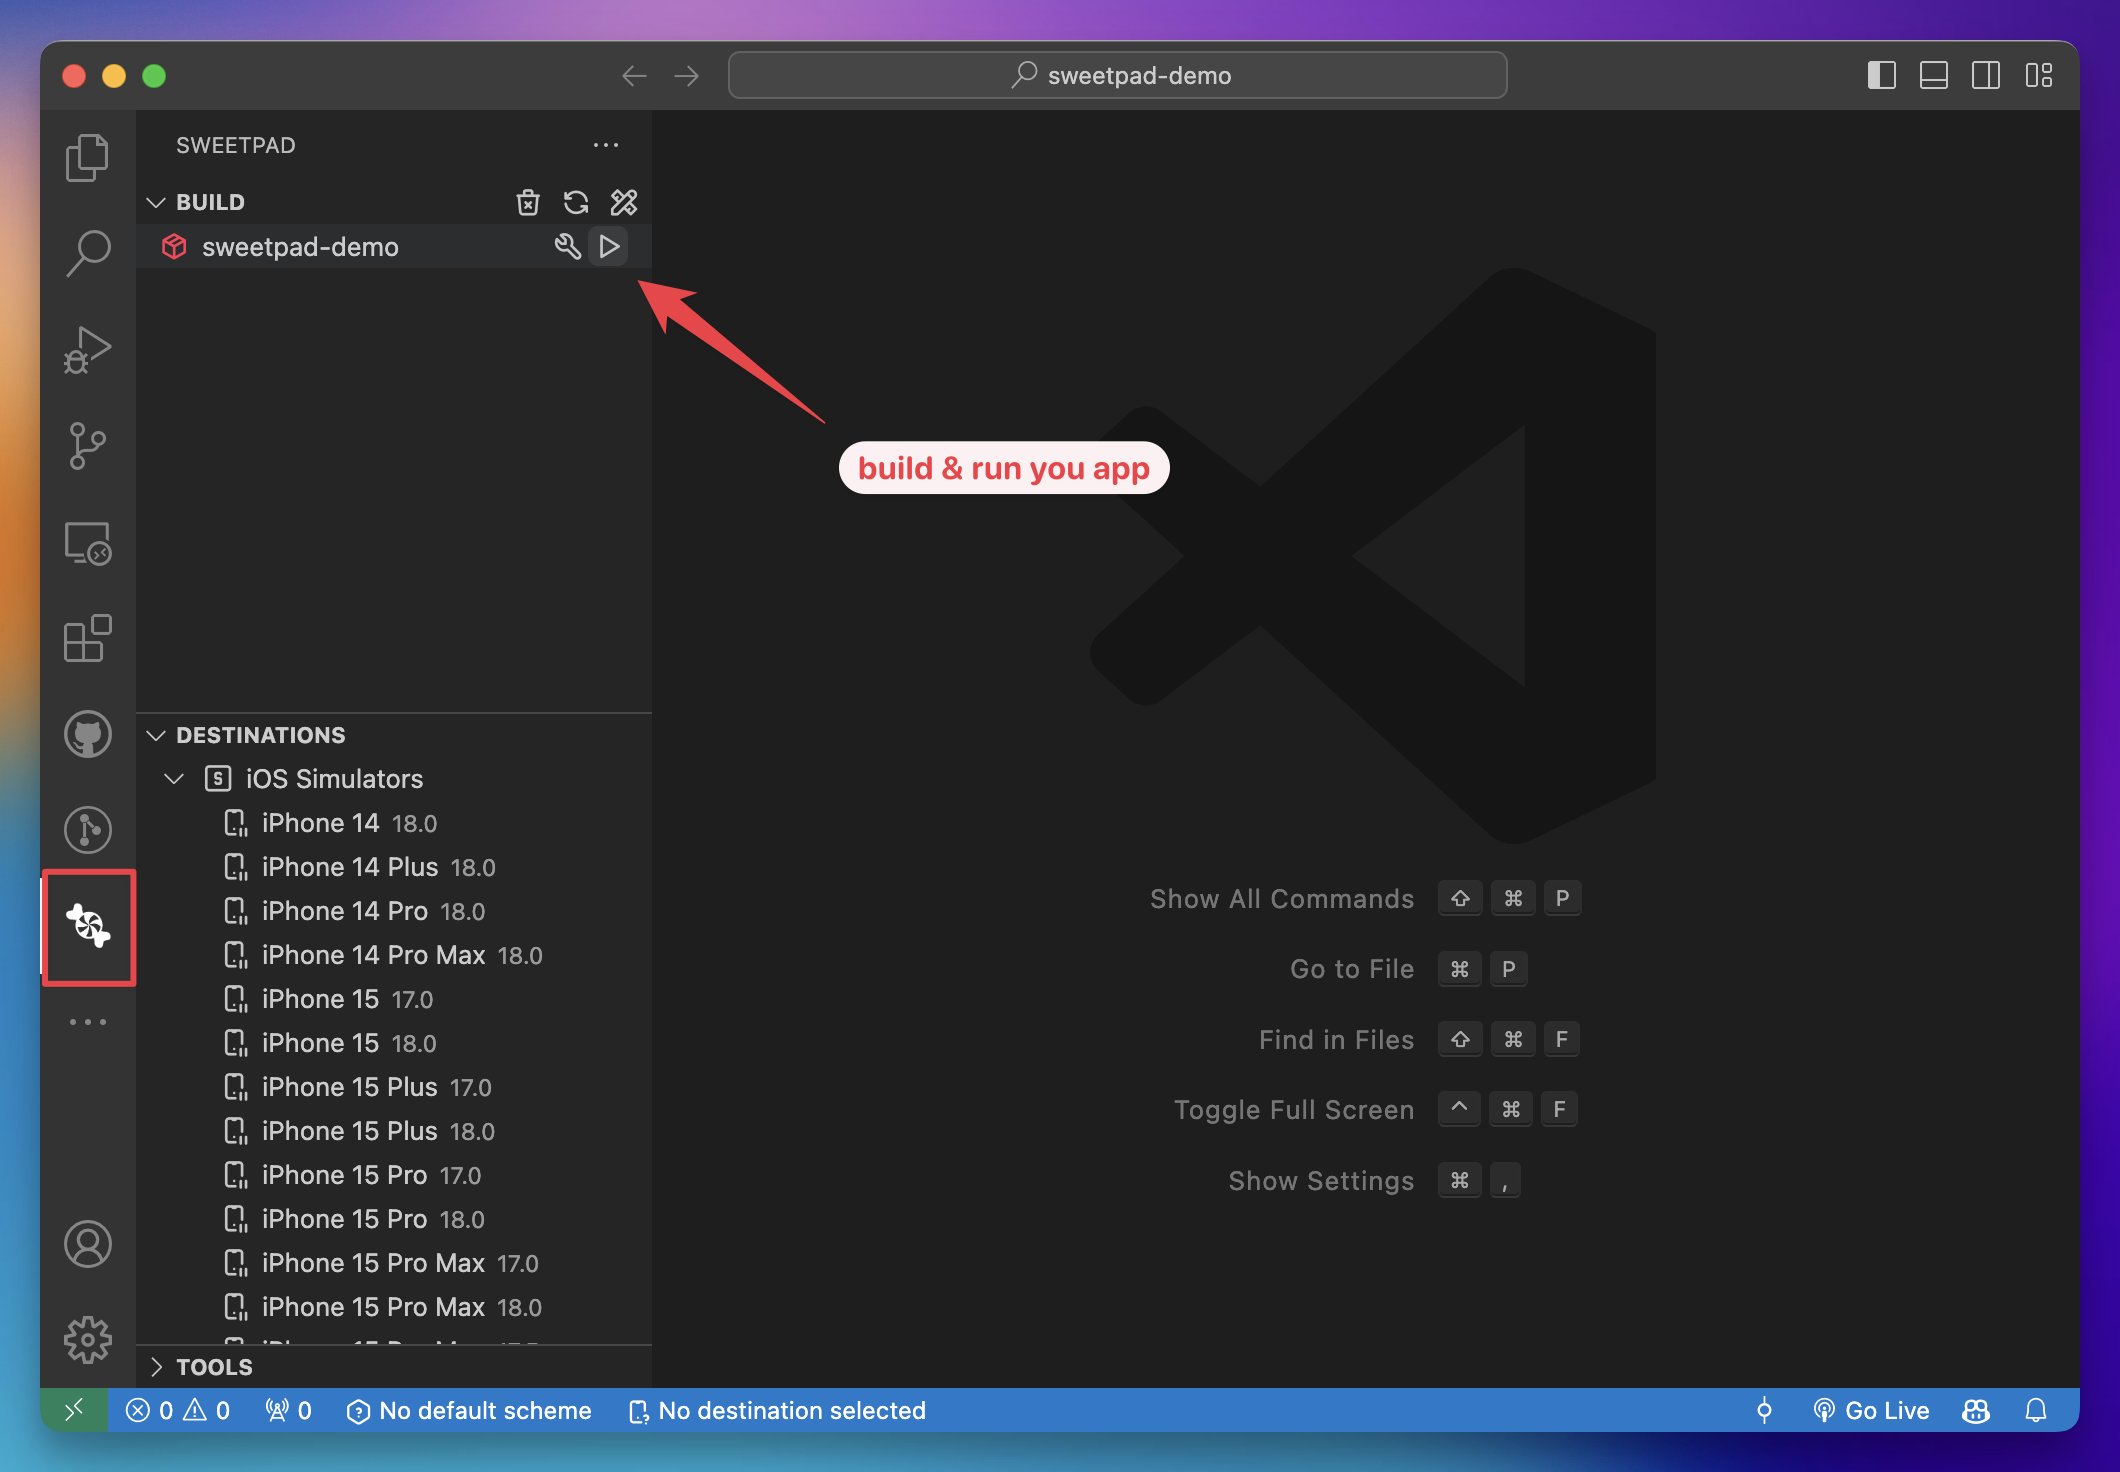
The sidebar has a few sections:
- Build — your schemes, each with a ▶️ button to build and run.
- Destinations — everywhere you can run: simulators, connected devices, and macOS.
- Tools — one-click install for the helper tools SweetPad can use.
4. Build and run
Click ▶️ next to a scheme. SweetPad asks which simulator or device to use, builds the app, boots the simulator, and launches it. Wait for the build to finish and your app appears.
That's it — you just built and ran an Xcode app from VSCode. 🎉
Where to go next
- Configure format on save so your Swift files tidy themselves up as you save.
- Install
xcbeautifyfrom the Tools panel for cleaner build logs. - Set up debugging with breakpoints.
- Browse the full feature list.
Demo
Here's the whole flow in a few seconds: